









Reel audio mixing: give every word room.
Your reel looks finished, but the voice disappears as soon as the music begins. Reel audio mixing starts with that simple listening problem: deciding what matters most, then giving it enough space.
You do not need a complicated effect chain to begin. Work through one short section, keep a copy of the original, and compare each change at the same playback volume.
1. Choose the lead sound before touching sliders
Play the edit once without looking at the screen. What should your attention follow: a spoken explanation, a satisfying sound, or the rhythm of a music-led montage? Write that answer down. It gives you a useful test for every later decision.
For a narrated reel, start with the voice on its own. Bring in the music gradually until it supports the pace without hiding words. For a sound-led clip, the featured sound may take priority instead. Adding every available track often makes a short edit harder to follow.
Try this: mute a layer you are unsure about. If the meaning becomes clearer and nothing important is lost, it may not need to return.
2. Make neighboring speech clips feel consistent
A quiet sentence followed by a loud one makes the viewer reach for the volume control. Listen across the join, not just to each clip separately. Adjust individual clip levels before making the entire sequence louder.
Some editors offer loudness matching or normalization. These can provide a starting point, but listen again afterward: matching measured levels does not guarantee that two voices or recording conditions will feel identical. Adobe’s audio-mixing tutorial demonstrates Auto-Match alongside other mixing tools.
Keep an eye on the audio meters while listening to the strongest words and effects. If the mix clips or sounds distorted, lower the contributing tracks rather than treating the master volume as a cure. Distortion already recorded into a source file may remain after you turn it down.
3. Let the music step back during speech
Music that sounds gentle by itself can compete with a voice once the two play together. Lower it during spoken lines and let it return smoothly in useful gaps. This is called ducking. You can make the changes with manual volume keyframes or an editor’s automatic tool.
In Premiere, Adobe’s current auto-ducking guide uses audio-type tags and controls for sensitivity, reduction and fade timing. Review the generated changes after editing the dialogue. Very fast dips can sound distracting, while slow changes may leave the first word covered.
Do not copy one slider percentage across unrelated songs. A sparse instrumental and a dense vocal track can compete with speech in very different ways. For reel audio mixing, the useful question is whether the words remain comfortable to follow at an ordinary listening level.

4. Smooth the beginning, cuts and ending
Listen closely to the first instant of the reel. A music track that begins halfway through a loud hit may feel abrupt even when the visuals begin softly. Choose the start deliberately, then check that the ending feels intentional too.
At clip boundaries, use a short fade or crossfade when it improves the join. Avoid overlapping unrelated words or cutting off a final syllable. Keep important sound effects close to the visual event they explain; a small timing error can make an otherwise clean edit feel disconnected.
For a loop, play the end followed immediately by the start. An ending that works once may produce a noticeable jump when the reel repeats. The goal is a convincing join, not a fade added to every clip automatically.
5. Use cleanup without flattening the voice
If a recording has steady room noise, try a modest amount of noise reduction and compare it with the untouched version. Listen to the ends of words and quieter breaths. If the voice becomes watery, metallic or unnaturally gated, reduce the processing.
Good reel audio mixing keeps the message natural. An effect that removes more background sound is not always the better result. If a sentence is badly recorded, a clean rerecording may be more useful than stacking several repair tools.
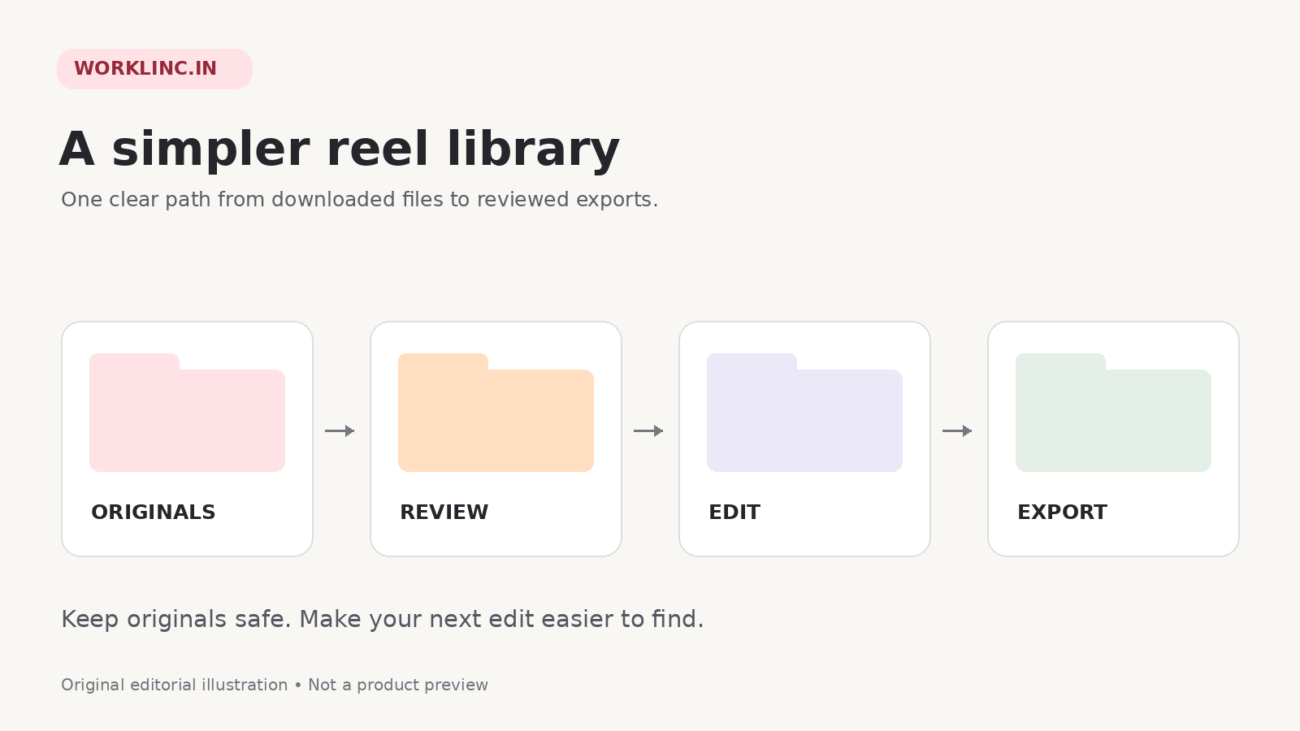
Keep the original file and a reversible editing project. Name an export clearly so you can tell the reviewed mix from an earlier version. Our download organization guide can help you keep source clips and finished edits separate.
6. Review the exported file on a phone
Export a short test and play the actual file outside the editor. Listen on headphones and a phone speaker at a comfortable level. Check whether words remain understandable, effects jump out unexpectedly, or any track has disappeared. Keep the listening volume steady when comparing versions.
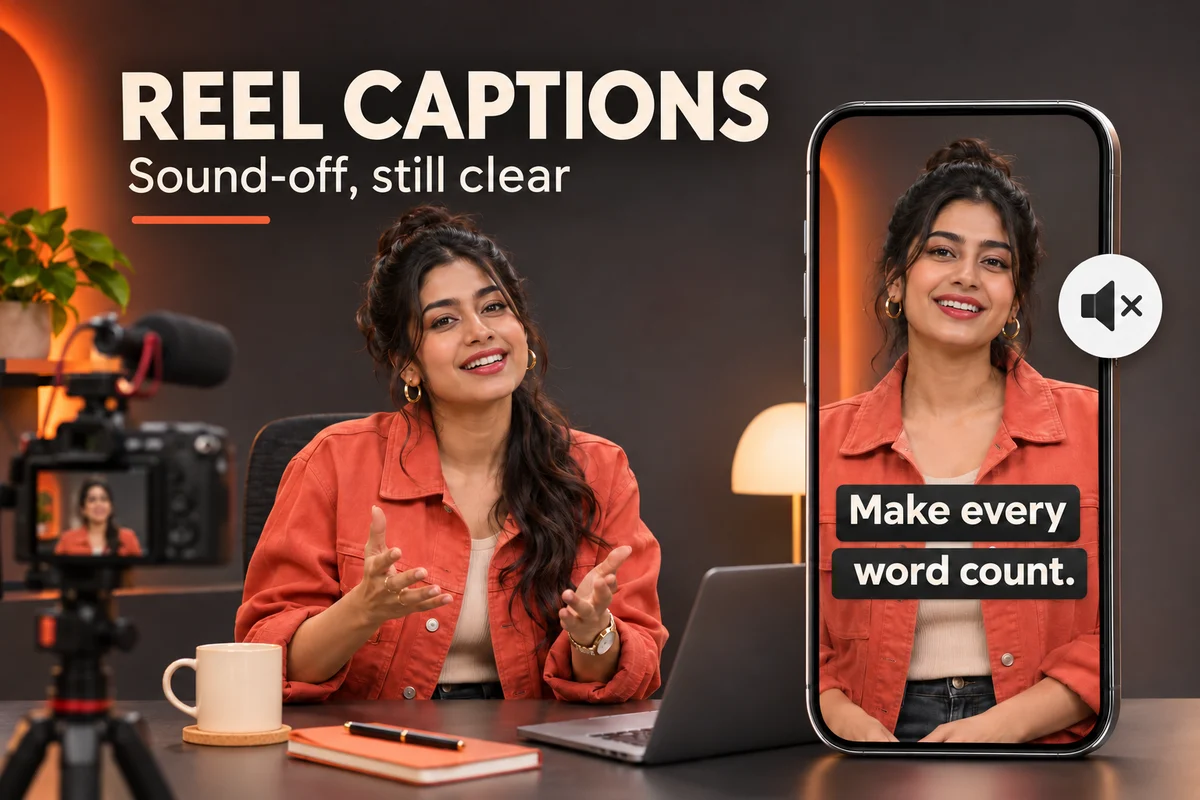
Watch it once with sound off as well. Audio clarity and readable captions solve different problems. Use the reel captions checklist to check the text, then review the complete file with the export checklist.
When starting with a bundle: WorkLinc’s Reels Bundle collection offers different visual themes. Preview the specific listing and listen to the files you receive before adding another soundtrack. Do not assume a downloaded clip is silent or that its purchase clears every music or commercial-use right.
A short reel audio mixing review
- The main voice or sound is clear without turning the device unusually loud.
- Neighboring clips do not force a sudden volume adjustment.
- Background music supports the speech instead of competing with it.
- The start, cuts and ending sound deliberate.
- Cleanup has not introduced distracting artifacts.
- The exported file has been heard on more than one playback device.
Save the version you actually reviewed. These are listening checks, not a promise of platform loudness, reach or acceptance. Platform processing and playback devices can change the final impression.
Questions about reel audio mixing
What music volume percentage should I use?
There is no useful universal percentage for every recording. Start with clear speech, bring in music gradually, and listen to the combined mix. Source loudness, the arrangement and the editor’s controls all affect the result.
Do I need automatic ducking?
No. Manual volume keyframes can work well for a short edit. Automatic ducking can speed up the first pass, but its timing still needs a listening check after changes.
Does clearer audio mean the music is licensed?
No. Mixing changes how the audio sounds. Permission to use it is a separate question. Check the track’s source, applicable license and the requirements of the platform and use you have planned.
Are the studio images software screenshots?
No. They are original editorial illustrations. They do not show a measured mix, an included product or the exact interface of a particular editor.