










Reel export settings are the final quality check between your editing timeline and the file people will actually watch. A clean preview inside an editor does not prove that the exported video has the right crop, readable text or working audio. Use these seven checks to catch avoidable problems before uploading.
This is a practical review workflow for short vertical videos, not a universal preset or a promise of reach. Different platforms process files differently. Start with your source footage and the destination’s current guidance, then inspect the result on a phone.
Reel export settings checklist
1. Check the canvas before the crop
A 9:16 canvas is a practical starting point for a full-screen vertical edit. It does not mean every source clip should be stretched to fill it. Stretching changes shapes; an aggressive centre crop can remove the subject’s hands, face or the action the viewer needs to understand.
Choose a deliberate fit for each shot. Reframe the subject, keep a tasteful background around a wider clip, or use a different source. Play moving shots from start to finish: a subject that fits at the first frame may drift outside the canvas later. Do not add black bars automatically simply to meet a dimension.
YouTube currently accepts square or vertical Shorts up to three minutes. That is a platform rule, not a reason to lengthen a short edit. Check the official Shorts upload instructions for the destination and device you use.

2. Match resolution to the source
Start by checking the original file’s dimensions. A 1080 × 1920 export can suit a vertical project with enough source detail, but exporting a small, soft clip at a larger size does not restore detail that was never there. Avoid describing an upscaled file as higher-quality footage solely because its dimensions increased.
Review the most demanding frame: small lettering, fine hair, transparent material or a busy background. If it looks soft before export, adjust the composition or source choice before increasing file size. Keep the untouched original so repeated edits do not force you to reuse a compressed copy.
3. Keep frame rate consistent
Check the source and timeline frame rates before export. YouTube recommends uploading at the same frame rate as the recorded material. Increasing a frame-rate number alone does not create authentic motion detail, and mixed rates may need careful handling by your editor.
For an AI-generated clip or a purchased collection, inspect the supplied file rather than assuming that every item has the same properties. Watch pans, quick hand movements and transitions for uneven motion. If the editor uses frame interpolation or optical flow, review the moving edges for distortions instead of assuming the feature improves every shot.
4. Inspect compression, not just file size
Use the destination’s supported format and encoding guidance. For YouTube, the recommended upload encoding settings include MP4 and H.264. Treat these as YouTube-specific guidance, not a guarantee that one preset is best for every service.
Export a short representative section when testing a new preset. Look at shadows, gradients and fast motion for blocks, banding or smeared details. A very small file is not automatically an efficient export if it loses the visual feature you wanted to show. Conversely, a much larger file is not useful merely because its bitrate number is higher.
For example, transparent fruit in the Glass Cutting AI ASMR collection is a useful kind of subject to inspect carefully: thin edges and subtle reflections can expose compression problems. Preview the actual purchased file; the listing title alone cannot establish its technical properties.
5. Listen to the exported audio
Open the export outside the editor and listen at a comfortable volume. Check the start, each transition and the last second for missing sound, an abrupt cut or an unexpected volume jump. Then listen on a phone speaker as well as headphones. A quiet detail can disappear on a small speaker even when it sounded obvious at your desk.
Where sound matches a visible action, confirm the timing after export. Do not solve every problem by turning the entire track up. Reduce competing music or adjust an individual section if necessary. Keep permissions for music and other audio separate from the licence for the video material.
6. Read text at normal phone size
Review captions, labels and the cover without zooming in. Leave room around important text and check the destination’s upload preview, because playback controls and interface elements can overlap the image. There is no single safe-margin measurement that works unchanged across every interface.
Make one clear correction at a time: shorten a line, increase contrast, move the text or change the timing. If the text is already hard to read in the exported file, platform processing will not fix it. The reel captions checklist covers wording, contrast and sound-off readability in more detail.
7. Review the actual final file
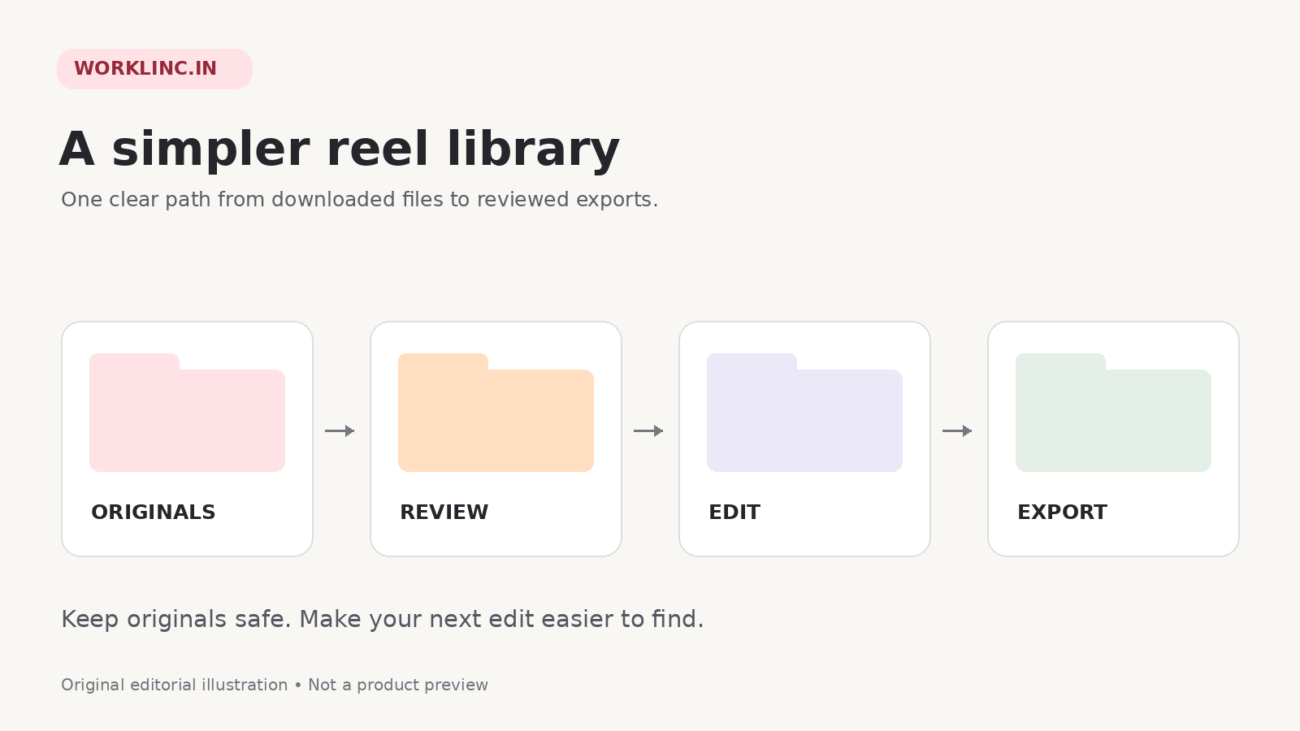
Give the export a versioned name so it is not confused with an older draft. Watch the first frame, the ending and at least one transition in a separate player. Confirm the duration, audio and crop. Keep the editing project, original source and final export in separate folders.
If you use a private or draft upload to check processing, verify the audience setting before submitting. Do not assume an upload is private by default. Review the processed result before making it public, and follow the platform’s rules for music, reused material and synthetic content where applicable.
The downloaded reels organisation guide can help keep versions separate. If the issue is how quickly a shot changes rather than export quality, use the reel pacing checklist instead. Those are different editing decisions.
A quick test for your next export
Choose ten seconds that contain movement, text and sound. Export with your intended settings, open the file on your phone and write down one problem you can actually observe. Change only the relevant setting, export again and compare the two files. This is more useful than changing several numbers at once and guessing which one helped.
Before a longer session, save a copy of the preset with the destination and date in its name. Revisit it when the platform guidance, source format or editing workflow changes. Good reel export settings are repeatable decisions supported by a visible result, not a permanent magic combination.
Common questions about reel export settings
Will a 4K export improve every reel?
No. Output dimensions cannot recover missing source detail. Review the original quality and the destination requirements before choosing a larger file.
Should I always use 60 fps?
No. Match the project to its source and intended motion. Inspect any conversion instead of using a higher number as a quality badge.
Can I skip the final phone preview?
It is better not to. The phone check can reveal a poor crop, unreadable text or audio problems that are easy to miss in a large editing window.
Ready to practise? Start with one clip you are permitted to use, or browse the WorkLinc Reels Bundle collection and check a sample before buying. A small, carefully reviewed export is a better first step than posting a large untested batch.