









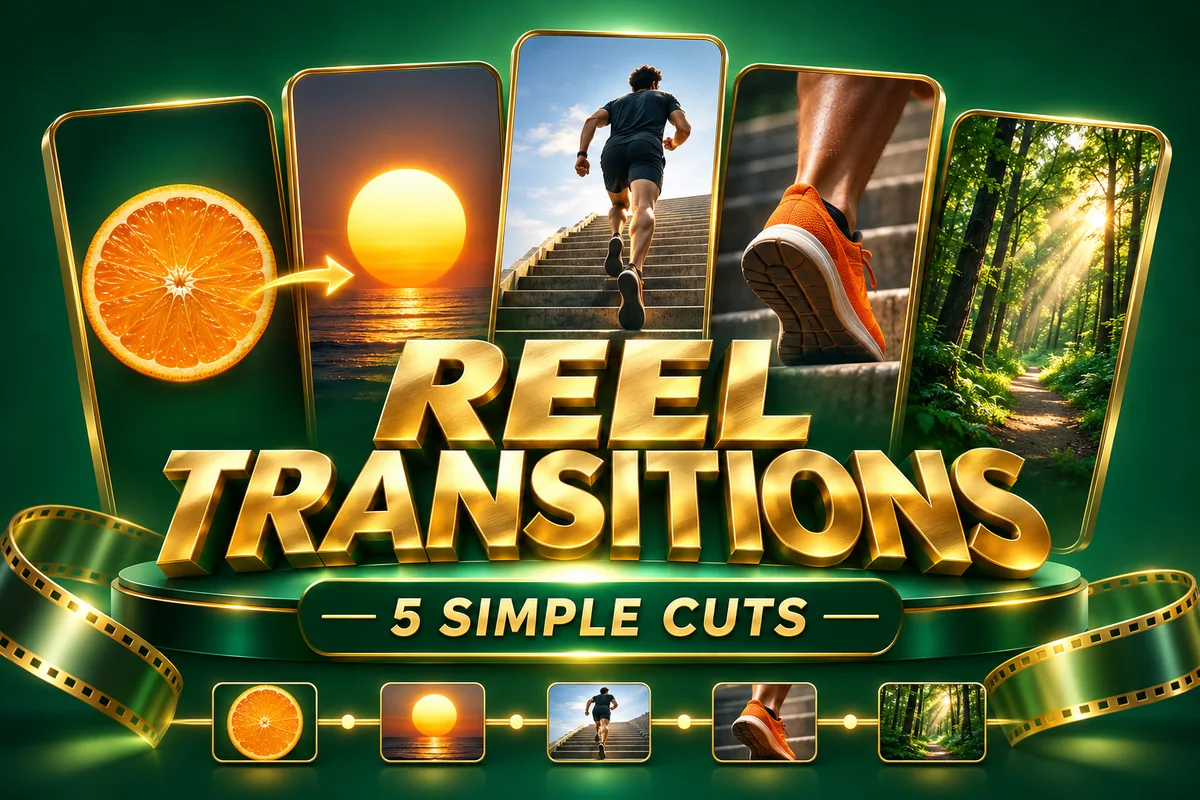
Reel transitions that make the next shot feel like the right shot.
Good reel transitions help viewers understand how one moment connects to the next. They do not need to announce themselves with a flash, spin or zoom. Often, the most useful choice is simply to put two well-chosen clips beside each other.
Start with a question: what should the next shot explain? It might reveal a result, show a detail or move the story somewhere new. Choose the join that makes that relationship clear, then add an effect only when it has a job to do.
Start with the message, not the effects menu
Write a short label for each clip: “problem,” “action,” “detail” or “result.” If two neighbouring clips have no clear relationship, rearrange them before looking for a transition. An effect can decorate a sequence, but it cannot explain why an unrelated shot belongs there.
A useful example is a desk-reset reel: an untidy desk, a hand moving stationery, a close-up of the new arrangement, then the whole finished workspace. Each shot answers a question left by the previous one. Our reel shot list guide helps you decide which moments to capture before editing.
1. Use a straight cut when the next shot explains more
The simplest reel transitions are direct cuts. A straight cut moves directly from one clip to another without an intermediate effect. Use it as your starting point. For a desk reset, cut from the whole desk to the object being moved. The close-up supplies information rather than asking viewers to admire an effect.
Place both clips on your timeline and watch the join at normal speed. If the new shot is understandable immediately, leave it alone. If the edit feels confusing, try a different incoming shot before reaching for a transition preset.
2. Try an action match when movement connects the shots
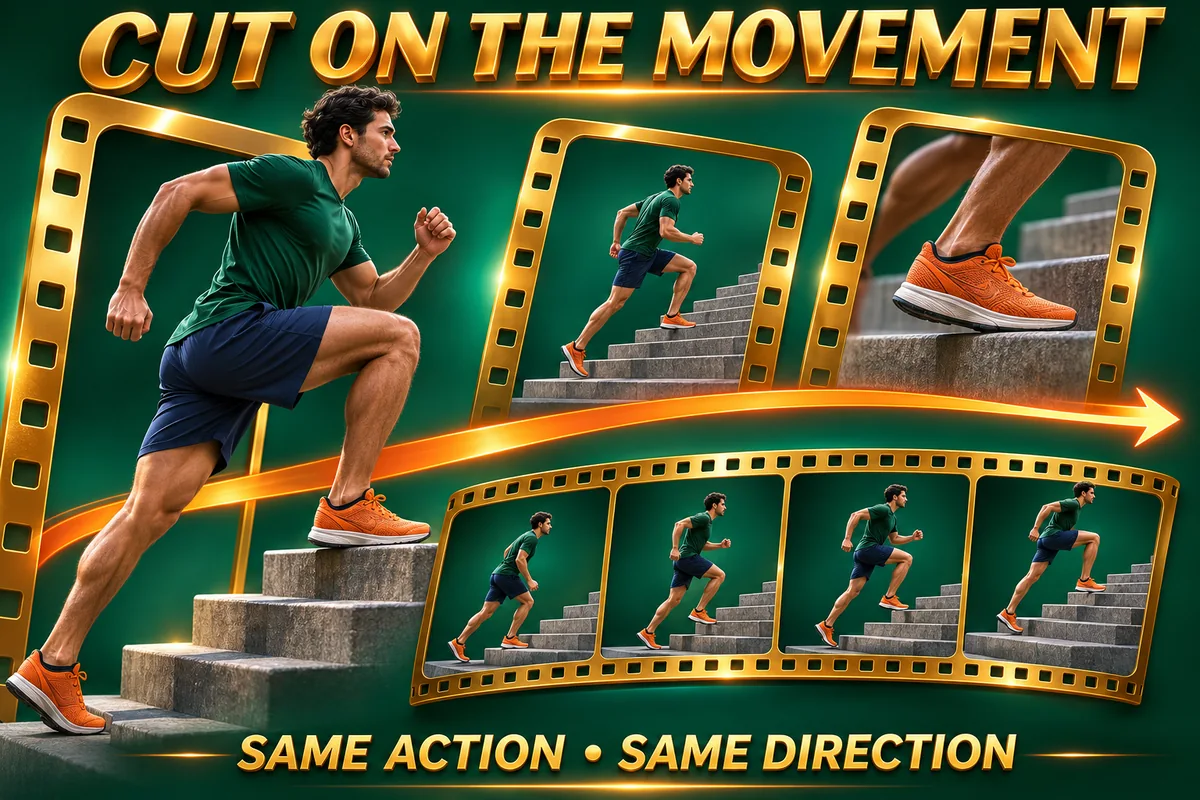
A match on action links shots through related movement. A simple practice exercise is filming a notebook opening from a wide angle and then from above. Cut during the opening movement so the second shot continues the same action.
Check the notebook’s position on both sides of the edit. A closed cover suddenly becoming fully open can feel like a missing moment. Move the cut a little earlier or later until the movement reads naturally. This is one reason to record the whole action from both angles rather than only a tiny fragment.
3. Use a graphic match for a deliberate visual connection
Graphic match cuts connect similar shapes or compositions. For example, a round coffee cup could lead into a circular clock face. The subjects change, but their shared shape gives the edit a visual idea.
For match cuts for reels, choose one strong similarity instead of trying to match everything. Keep the important shape in approximately the same area of the frame. If viewers have to search for it after the cut, simplify the composition or choose a more obvious pair. Use this technique where the connection supports your message, not on every shot.

4. Choose a jump cut when repetition gets in the way
A jump cut makes a visible leap within a similar view. In a packing demonstration, it can move from an empty box to a partly packed box, then the finished parcel. The change is obvious, but the repeated setup makes the sequence easy to recognise.
Keep enough context for viewers to follow the process. Do not remove the one step that explains how something works. If a tutorial suddenly skips from loose parts to a finished object, a short explanatory shot may be more useful than another cut.
5. Cut to a detail when the main view needs a break
A detail shot can show what the wider scene cannot. After showing someone arranging a desk, cut to the labelled folders or the cable being tucked away. This gives the next shot a clear purpose.
Choose details that belong to the action. An attractive but unrelated clip can interrupt the explanation. When you return to the wider view, check that the objects and positions still make sense. This small continuity check is often more valuable than adding a complicated effect.
A quick test for reel transitions
To judge your reel transitions, watch the sequence once without stopping. Then ask:
- Do I understand why the next clip appears?
- Does the important action remain visible?
- Is the cut drawing attention away from the message?
- Would a plain cut explain the same thing more clearly?
Compare two versions if you are unsure: one with the effect and one without. Keep the version that is easier to understand, not automatically the busier one.
If you are choosing clips from a reels bundle, shortlist footage with compatible subjects and framing first. Check the product’s usage terms before editing or publishing. Buying a collection does not make every pair of clips a natural match.
Common reel transitions mistakes to avoid
Do not use a transition to hide an unclear sequence. Fix the clip order first. Avoid stacking several effects onto a single join, especially when the viewer also needs to read text. Finally, review the exported video on a phone: a join that looks impressive in an editor can feel distracting in the finished reel.
Questions about reel transitions
Which reel transition should a beginner use first?
Start with a straight cut. Learn to choose a helpful next shot before adding effects.
Do I need a transition effect between every clip?
No. Most edits can use direct cuts. Add an effect when it communicates something the plain cut does not.
Can I make match cuts with existing clips?
Yes, when the clips share a useful visual or movement connection. Do not force a match if the subjects or framing fight each other.
Do smooth transitions guarantee more views?
No. Clear editing can make a video easier to follow, but reach also depends on the content, audience and platform distribution. No transition guarantees performance.