










Choosing music for reels is easier when you listen to it against the footage. A song you love on its own can drown out a voiceover or rush a quiet scene. Start with the video, check that you can use the track, and listen to the exported file before you post.
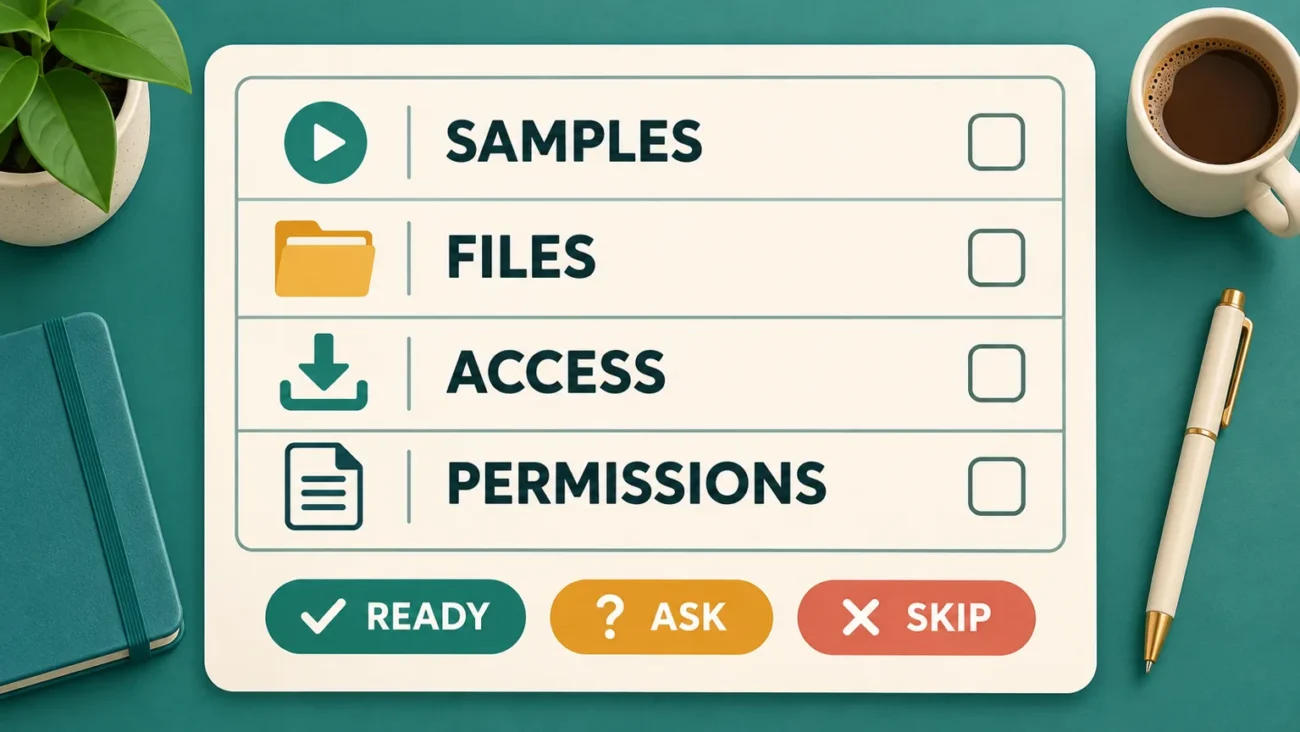
These seven checks cover the small decisions that are easy to miss while editing: where the audio came from, whether credit is needed, how it sits under speech and what happens at the end of the reel. The permissions sections are general guidance, not legal advice.
Your music for reels checklist
Choose music for reels around the sound your video needs
Play your rough cut once without adding anything. What needs to be heard? In a tutorial, it will usually be the explanation. In a close-up of a craft project, the scrape of a tool or the sound of paper might carry the scene. A story with little dialogue leaves more room for music.
Give yourself a short brief, such as “Keep the voice clear and the background gentle.” It helps you choose music for reels without spending an hour scrolling through tracks. Leave quiet moments alone when they already work.
1. Check where the audio came from
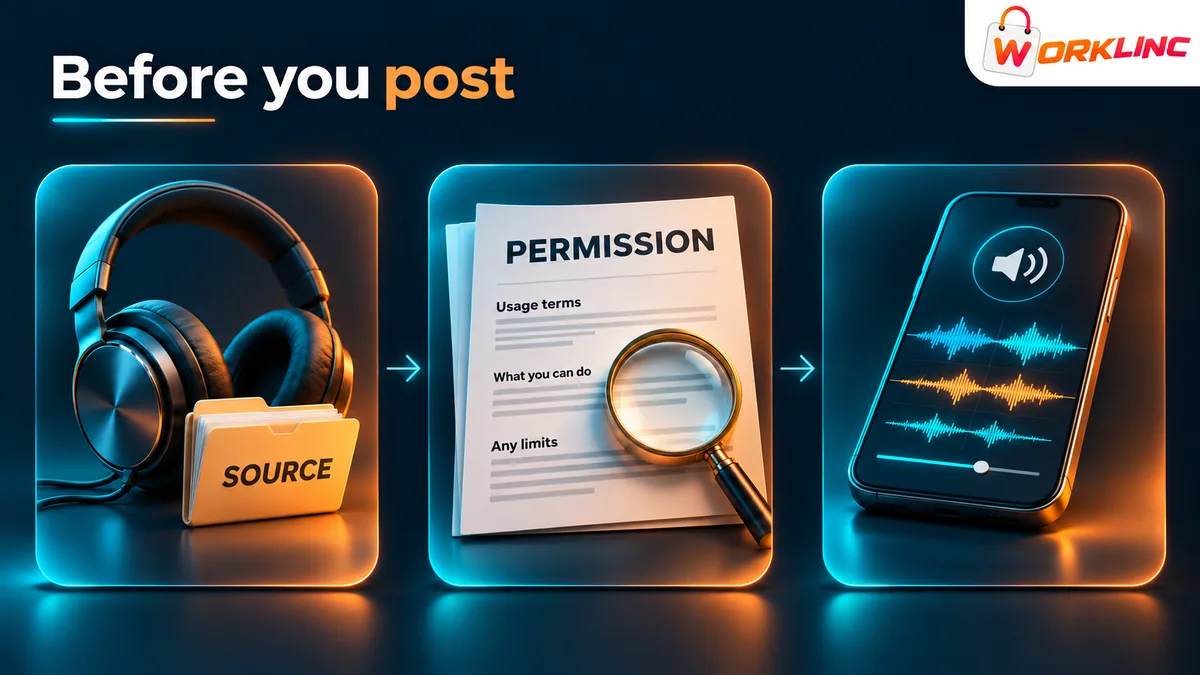
Note where you found the audio: inside the publishing app, in a licensed library, in a purchased bundle or in your own recordings. A song playing in somebody else’s reel does not give you permission to reuse it.
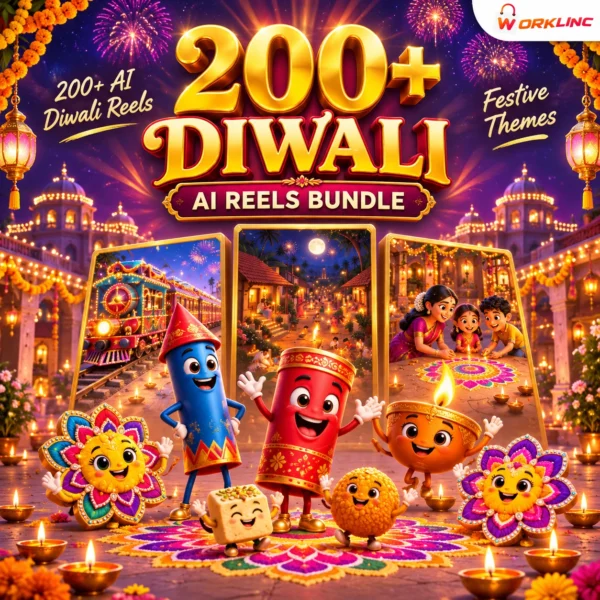
Listen to purchased clips before you start cutting. They may already contain music, voices or effects that you need to account for. If the product terms only describe the visuals, ask the seller what audio use is covered. Buying a video file does not automatically clear every sound in it.
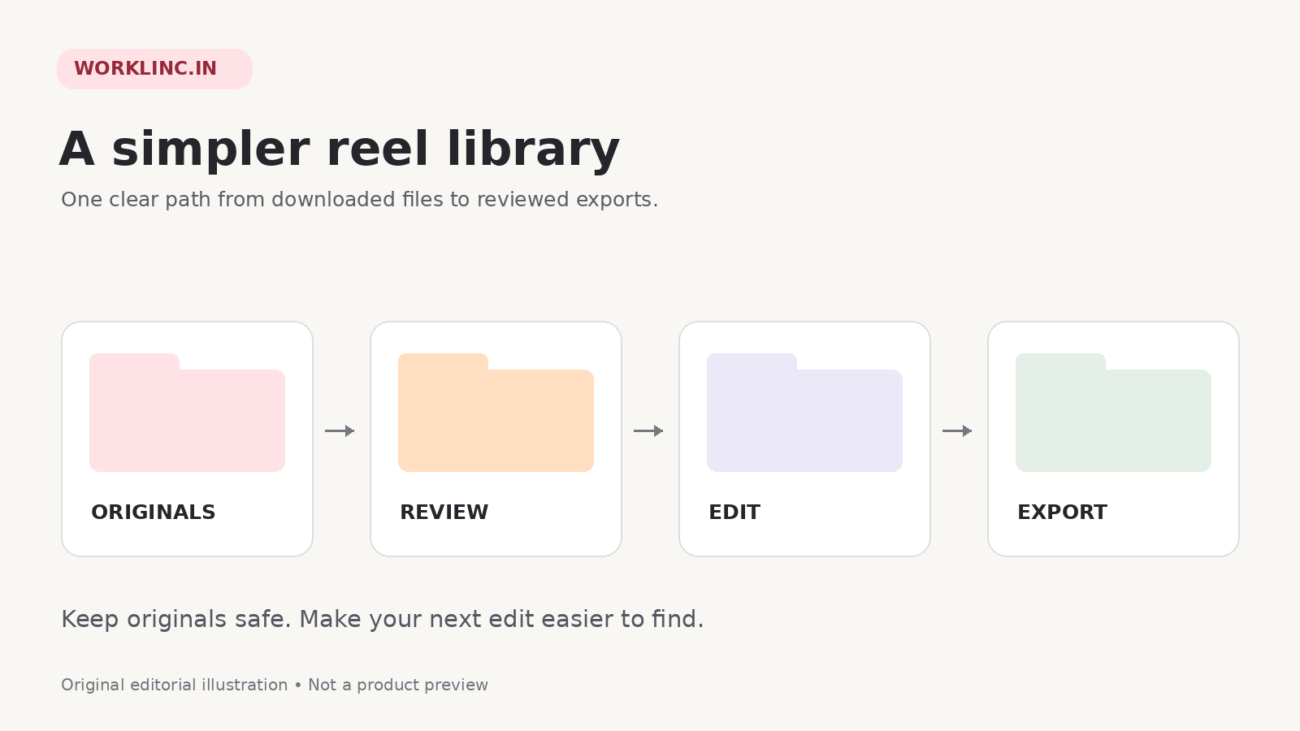
Save the track name, source link and licence record in the project folder. You will have them handy if you revisit the edit or prepare a version for another platform.
2. Match the terms to this particular post
Write down where this reel will go and how it will be used. A personal post, a business account upload and a paid ad can have different music permissions. Check the terms against your actual plan, including any client work.
“Royalty-free” still comes with conditions. Read the licence for the track you picked, looking for commercial use, attribution, editing and distribution rules. Keep a copy of the relevant terms. If something important is unclear, get an answer before building the whole edit around that track.
Planning to cross-post? Check each destination. Music for reels added inside one app may not be cleared for a video uploaded elsewhere. Keeping a separate export without that music can save you from rebuilding the edit later.
3. Check attribution before the final export
Check the attribution instructions while the track’s download page is still open. In YouTube’s Audio Library, some tracks require a credit and others do not. Follow the instructions for the particular track rather than relying on a rule you remember from a previous download.
Copy any required credit into your publishing notes, ready for the caption or description. A line such as “music belongs to the owner” does not replace the credit specified by the licence.
The official YouTube Audio Library guide explains its attribution options and the limits of YouTube’s assurances. For audio from another library, read that provider’s terms.
4. Choose music for reels that supports the scene
Try two suitable tracks on the same short section of footage. Listen through the opening, the main action and the ending. Which track gives the viewer room to notice what matters? Testing against the edit is more useful than choosing from the library preview alone.
A busy vocal can pull attention away from a quiet reveal. A beat that feels exciting at first may force cuts before the action is finished. When choosing music for reels, listen for phrasing that fits your shots instead of chasing a popular song.
Then mute the music and compare. If the scene suddenly feels clearer, try a simpler track or use music in fewer places. You can keep the part that works without filling the whole timeline.
5. Keep speech and important sounds clear
Listen to the first spoken sentence without reading the captions. Can you catch every word? Lower the background track if you have to concentrate on the voice. Repeat the check around names, instructions and the closing line.
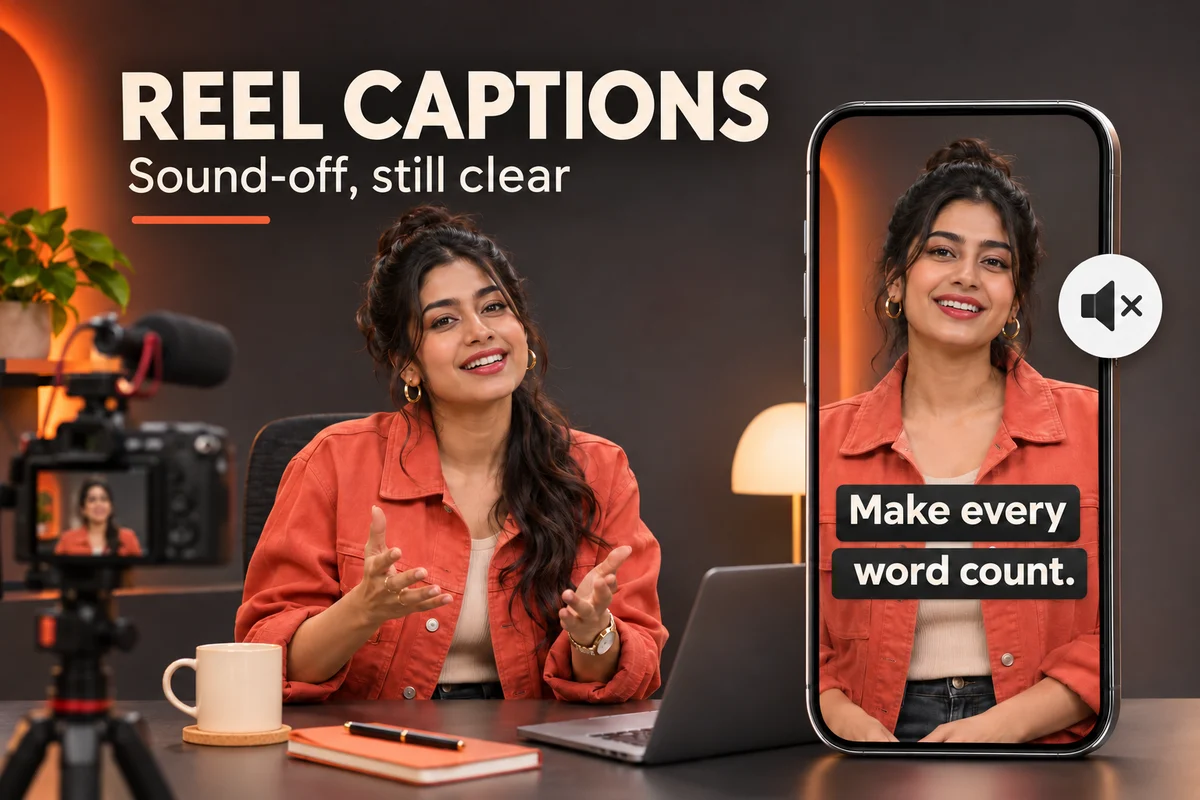
Check your music for reels on a phone speaker as well as headphones. A mix that sounds spacious in headphones can feel crowded on a small speaker. Use a comfortable volume and listen through the whole edit, not just the section you adjusted.
Listen for abrupt volume changes, distorted peaks and clipped endings. Your editor’s meters can help you spot trouble, but a single loudness number is not a rule for every platform. Check the exported audio too.
6. Use sound effects with a clear purpose
Give each effect a job. A soft click can mark a button press; a short whoosh can underline a transition. If three sounds compete for the same moment, try removing two and listen again.
Match the effect to what the viewer sees. A huge impact may overpower a gentle reveal. Take care with alarms or emergency sounds, and avoid making a fictional or AI-generated scene appear to be a genuine recording through misleading audio.
Sound effects need permission checks too. When browsing WorkLinc’s editing assets collection, read the chosen listing’s contents and usage terms, especially for client work or advertising.
7. Listen to the exported file, then save the record
Play the exported file from start to finish, outside the editor. Listen for missing audio, a voice that has become hard to hear, unexpected silence or an ending that cuts off mid-note. If possible, make one final pass on the phone you use to review posts.
Keep these details with your finished project:
- Track or effect name and source URL.
- The permission or licence record you relied on.
- Whether attribution is needed and the exact credit.
- Intended platform and type of use.
- Export filename and review date.
These notes make it easier to trace your sources; they do not resolve unclear rights. Settle any open permissions questions before posting. For picture quality and the rest of the export, use the reel export settings checklist.
A practical music-for-reels example
Suppose your reel opens with a voice explaining a miniature scene, shows a transformation, then holds on the result. Start with the voice track. Add permitted music quietly underneath, test one effect at the transformation, and leave space for the final reveal. If the effect draws more attention than the change on screen, take it out.
Compare the two versions and keep the one that is easier to follow. This is one way to arrange music for reels, not a fixed recipe. A scene with useful natural sound may need much less added audio.
Music for reels: frequently asked questions
Does buying a reels bundle include music rights?
Not automatically. Check the product’s licence and any separate audio terms. If embedded music is not clearly covered, ask the seller before using it.
Can I use the same music for reels on every platform?
Only if the licence covers those platforms and uses. A track available inside one app may have restrictions elsewhere, so check before cross-posting the soundtrack.
Do all reels need music?
No. A voice, a scene’s own sound or a quiet pause may be enough. Add music when it helps the viewer follow or feel the scene.
Will a particular track guarantee more views?
No track guarantees reach. Choose music you are allowed to use and that fits the edit; view counts and monetization approval remain uncertain.