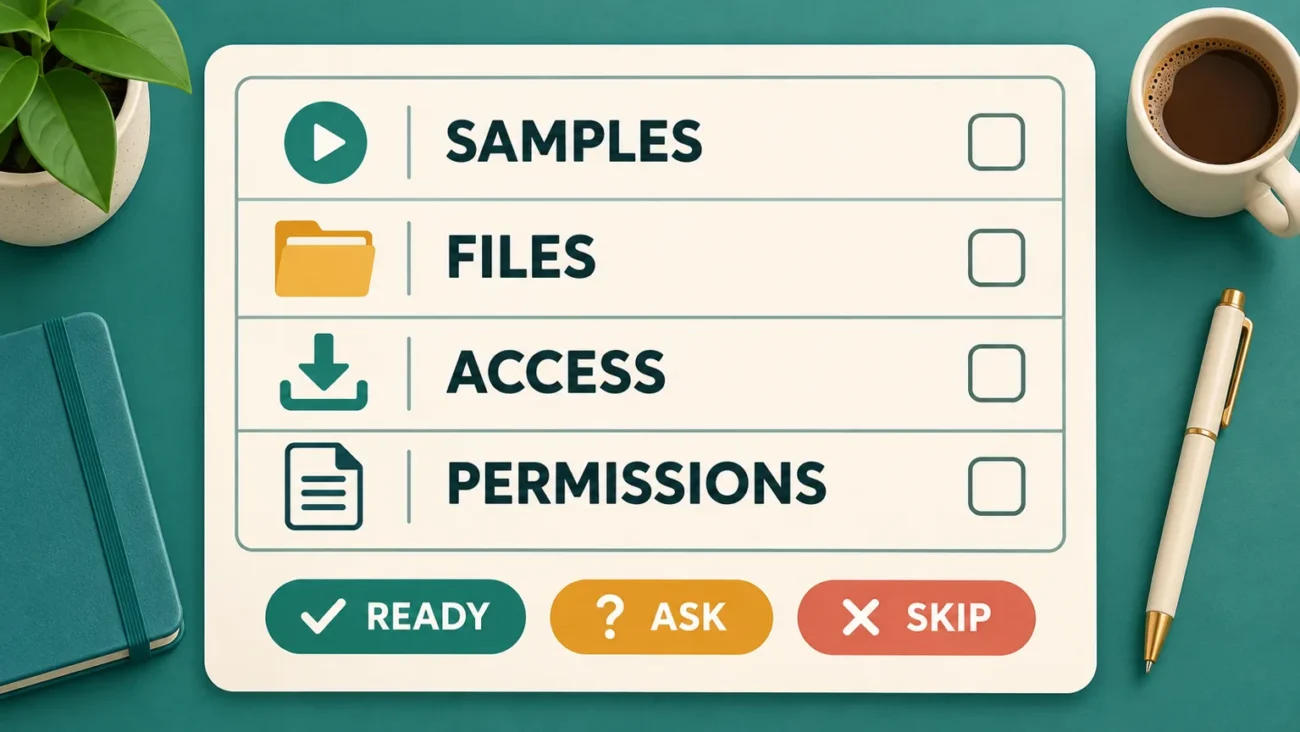











A good YouTube thumbnail checklist catches small problems before you upload: the wrong shape, tiny lettering, a blurry subject or a file that is too large for your upload device. Use these seven checks to turn a finished design into a clear, reliable export.
This guide is for creators preparing their own thumbnail artwork or adapting graphic assets. The composition advice is a practical design workflow; the technical upload details below come from YouTube’s current help page, checked on 4 November 2026.
1. Start your YouTube thumbnail checklist with the destination
Decide whether you are making a standard video thumbnail, a Shorts thumbnail or podcast artwork before choosing your layout. A wide composition needs different spacing from a tall one. Simply cropping a finished horizontal design into a vertical frame can cut off the subject or remove the words that explain it.
Write a one-line brief: the video topic, the main subject and the place the thumbnail will appear. For example, a tutorial about organising a desk could show the finished desk and a short phrase about the result. That brief makes it easier to reject decorative elements that do not help the viewer understand the video.
2. Confirm the canvas and upload-device limits
At the time of checking, YouTube’s custom thumbnail guidance recommends 3840 × 2160 pixels for videos and 2160 × 3840 for Shorts. The corresponding aspect ratios are 16:9 and 9:16. Podcast playlist artwork uses a square, 1:1 layout.
- Formats: JPG or PNG.
- Desktop uploads: keep video, Shorts and podcast thumbnails below 50 MB.
- Mobile uploads: video thumbnails must be below 2 MB; podcast thumbnails below 10 MB.
- Account access: custom thumbnails require a verified account. YouTube currently supports custom Shorts thumbnail uploads through Studio on a computer.
These are destination requirements, not a reason to stretch a small image. Check the source asset at the size you plan to use. Enlarging a low-resolution cutout may make its soft edges more visible. Keep a larger editable master when possible and make separate exports for each destination.
3. Give the thumbnail one clear message
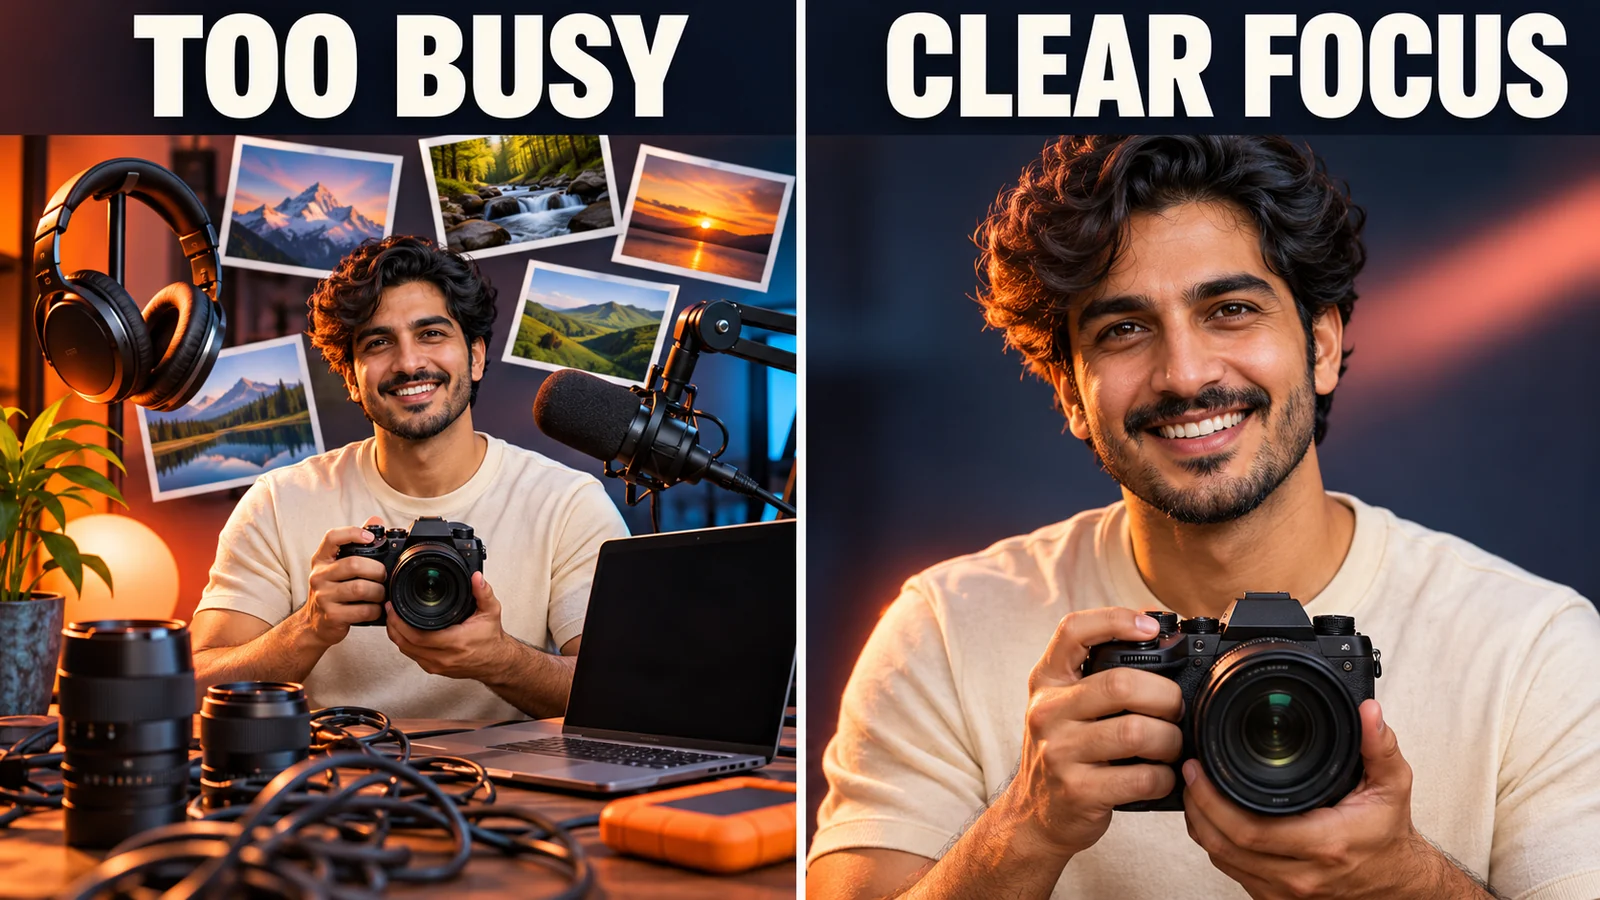
Choose one focal subject: a face, object, result or scene that the video actually shows. Then decide whether text adds anything the image cannot say alone. A short supporting phrase usually leaves more room for the subject than a full sentence copied from the video title.
Try this quick edit: temporarily remove every arrow, badge and extra image. Add back only the elements that help explain the main idea. This is a design exercise, not a rule that every thumbnail must be minimal. A busy gaming scene and a calm tutorial can both work, provided the viewer can tell what matters first.
If you are starting from a graphic collection, choose assets around that message rather than filling every available space. WorkLinc’s 100GB+ Thumbnail Graphics Mega Bundle is one place to explore thumbnail resources. Check the current listing for its contents, file requirements and usage terms before choosing it for your project.
4. Test readability at a small preview size
Zoom out until the design is close to the size a viewer might see while browsing on a phone. Can you identify the subject immediately? Can you read the important words without leaning closer? If not, increase the subject’s size, simplify the wording or improve contrast behind the text.
Check the edges too. Leave breathing room around faces and lettering rather than placing important details against the crop. Compare a light and a dark surrounding background; a thin outline that looks strong on your editing canvas may disappear against one of them.
A useful second pass is to cover the text and look only at the image. Then cover the image and read the text. Both should point toward the same topic. This helps you spot an attractive design that communicates a different promise from the actual video.
5. Export a finished image, not the editing project
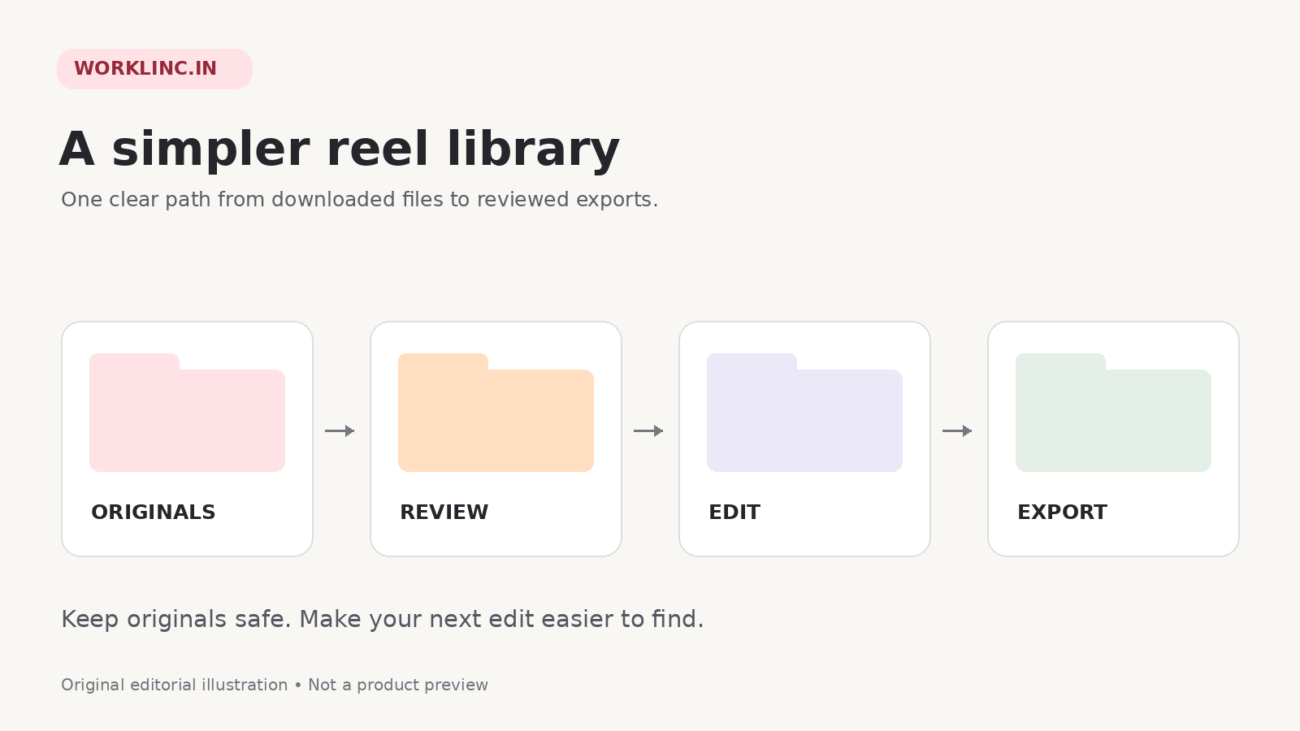
Your editable design file and your upload file have different jobs. Keep the project with its layers so you can change text later. Export a separate JPG or PNG for uploading. Open that exported file in an image viewer and inspect it, rather than assuming it matches what you saw in the editor.
Look for missing fonts, unexpected transparency, rough cutout edges and compression around small text. If the file exceeds the upload limit for your device, try a lower JPG quality setting or a more efficient export while checking the result each time. Do not reduce quality so far that the subject becomes muddy.
This website uses optimized WebP illustrations to keep the article light. That is separate from the JPG or PNG thumbnail you prepare for YouTube. File format choices should follow the destination, not the format used by a tutorial’s illustrations.
6. Check the thumbnail after uploading
Make sure you selected the intended video and the final export, then review the visible result in Studio. Check that the subject is not cut off and that the words still read correctly. YouTube notes that changes can take time to appear, so distinguish an old cached preview from a failed save.
Before finishing, compare the thumbnail with the opening of the video. A clear image should help viewers recognise the topic. Avoid implying a result, person or event that the video does not contain. Good presentation starts with an accurate promise.
7. Save a revision-ready version
Use a filename that distinguishes the project from its export, such as desk-reset-thumbnail-master and desk-reset-thumbnail-v1.jpg. Keep notes on the wording, image choice and export settings so a later revision does not require rebuilding the design.
For a broader visual starting point, browse WorkLinc’s editing assets and graphics collections. Choose around the style and formats your project needs. The right collection is the one you can actually use, not simply the one with the largest title count.
Your final YouTube thumbnail checklist
- The layout matches the intended destination.
- The dimensions, format and file size fit the current upload requirements.
- The subject and wording accurately describe the video.
- Important details are readable in a small preview.
- The exported file has been opened and checked.
- The uploaded result has been reviewed.
- The editable source and final export are saved separately.
Use this YouTube thumbnail checklist as a repeatable finishing step. Technical requirements may change, so revisit the linked YouTube guidance when an upload behaves differently. Clear artwork and a careful export are more useful than chasing a design trick.